Turn your imaging center into a brand: step-by-step branding guide
· Updated

Most dental imaging centers compete as if they were interchangeable: same generic logo, same CD, same price. That is being a commodity, and a commodity only competes on price. The way out is to build a brand. This is a practical step-by-step guide to do it without an agency.
Step 1: define your positioning in one sentence
Before thinking about logo or colors, define in one sentence who you are for and why. Template:
"We are the imaging center for [dentist type] who needs [concrete need] without [common friction]."
Example: "We are the center for implantologists who need same-day CBCT with report and no CD dependency."
Step 2: name and verbal identity
If your center is called "Dental Imaging Center [your last name]", it sounds like 1995. Consider renaming to something:
- Short and memorable (1-2 words).
- Pronounceable in a phone call.
- With .com or local domain available.
- Not confusable with a generalist clinic.
Keeping your personal name works if you build the brand around it (e.g. "Dental Imaging Dr. Smith" works because of continuity).
Step 3: minimum viable visual identity
You do not need an agency to start. Define:
- Logo: clean typography, no gradients or generic tooth icons. Tools like Canva or Looka are enough.
- Palette: 1 strong primary color and 1 accent. Skip classic medical blue, it no longer differentiates.
- Typography: 1 for headings, 1 for body. Enough.
- Photo of your center entrance: well lit, no people, in horizontal and vertical.
Step 4: the most-seen asset, the radiology report
The report is what gets printed, forwarded and seen the most. It is your business card. It must have:
- High-resolution logo in the header.
- Center details (address, phone, website).
- Signing radiologist name and license.
- Consistent typography with your brand.
- Footer with legal details (EIN, VAT, etc).
Step 5: basic digital presence
The minimum viable is three channels:
- Simple website: one page with services, reference pricing, location and contact form.
- Google Business: mandatory. Real photos, hours, phone, description.
- Instagram: 1 post per week is enough. Show team, spaces, cases (anonymized).
Step 6: branded delivery experience
This is where many centers fail. After polishing logo and website, they ship scans on a generic CD with vendor viewer. That destroys the whole brand they built.
The scan must ship with:
- Your logo in the viewer the patient opens.
- Your name in the notification email.
- Your custom URL (yourcenter.com/patient).
- Report templates with your colors and typography.
Step 7: voice and tone in communication
Define how you write:
- Formal or casual? (recommended: casual, except in very formal markets).
- Technical or friendly? (recommended: friendly for patients, technical for dentists).
- Emojis or not? (Yes, sparingly on WhatsApp; no in formal email).
Document this in a shared Notion or Google Doc so the whole team writes the same way.
Common mistakes
- Having brand only in the logo, not in delivery.
- Changing identity every 6 months.
- Copying the largest center in the city.
- Using stock photos instead of real photos of your center.
How CBCTHub boosts your branding
CBCTHub lets you upload your logo, configure brand colors and ship every scan with a branded URL for your center. The patient and the referring dentist see your brand on every interaction, from the email to the 3D viewer. To try, you can create a free account.
Wrap up
Branding is not a logo, it is consistency across every interaction. Start with positioning, drop to visual identity, ensure delivery reflects the brand, and stay consistent for at least 18 months. A brand is not built in a week.
Try CBCTHub for free
Upload, view, and share DICOM scans in the cloud. Nothing to install.
Create free accountRelated articles
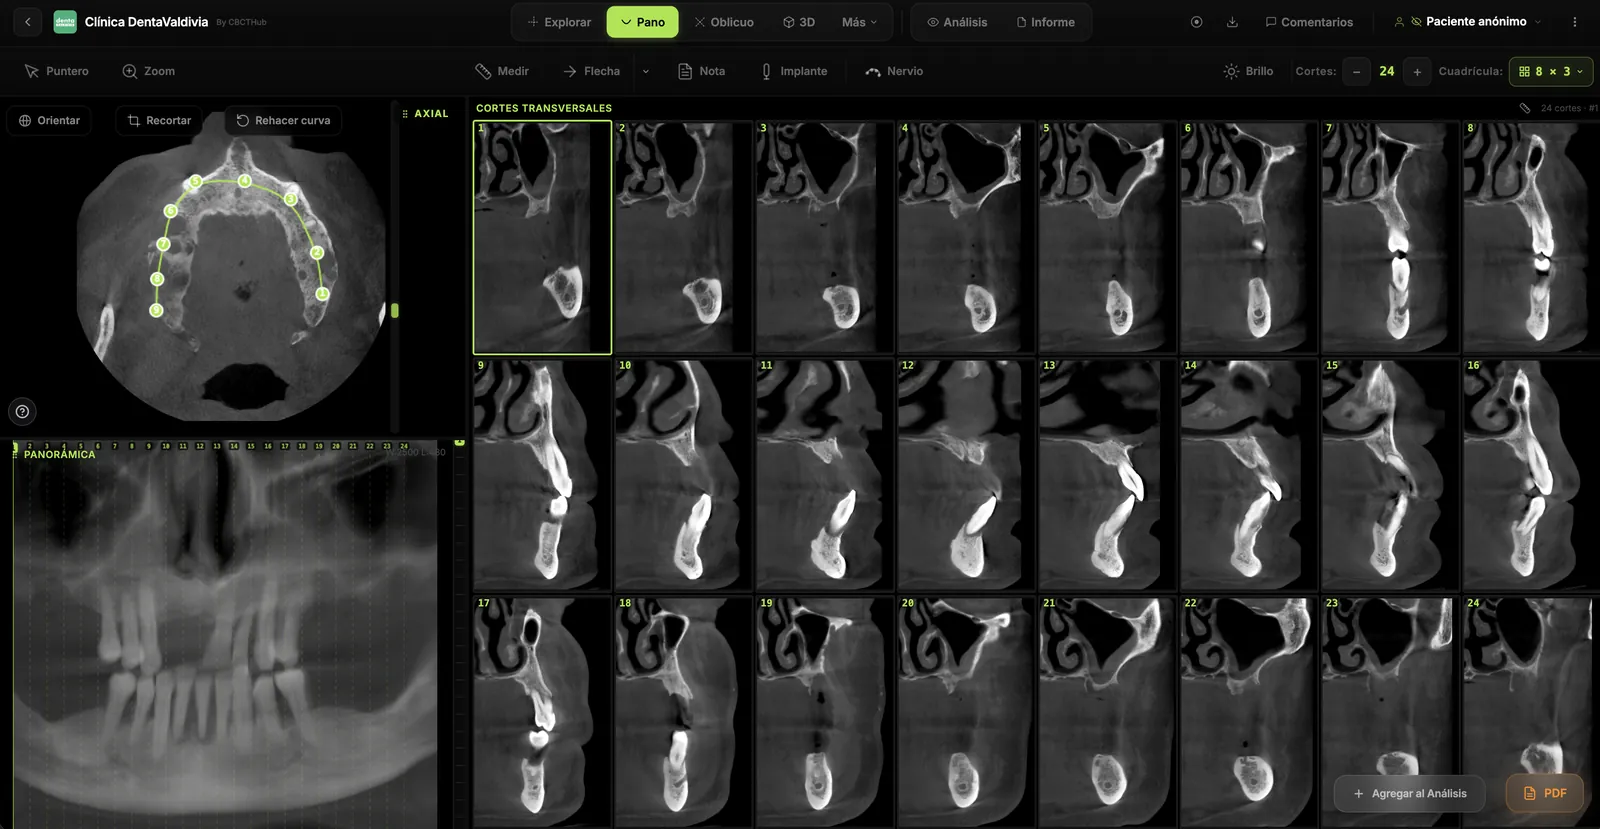
Browser DICOM viewer vs desktop: what works for CBCT in clinic
Open CBCT in the browser or install a desktop viewer? A clinical decision matrix: MPR performance, offline use, Mac/Windows mix, sharing without CDs, and when native software still wins.
How to open a CBCT without installing software: a practical online-viewer guide
You got a CD, ZIP, or link with a CBCT and no manufacturer viewer. How to open the DICOM in the browser, measure in mm, and what to do when it fails.
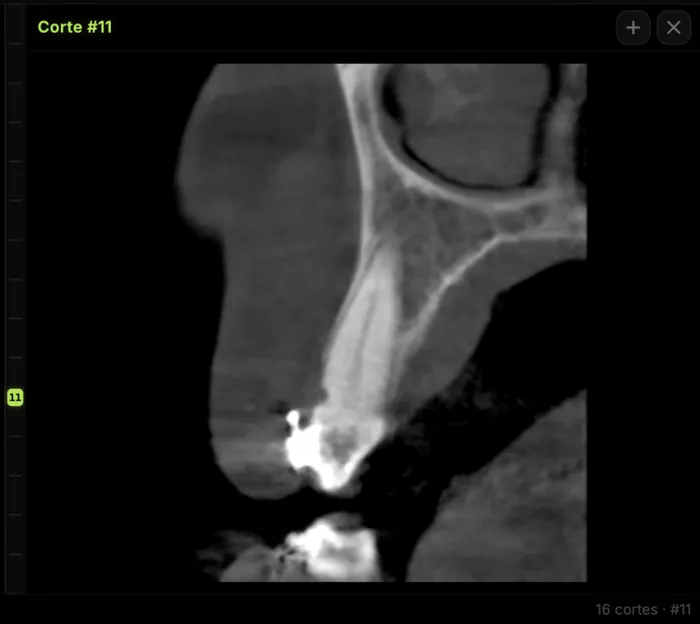
Mandibular canal and inferior alveolar nerve on CBCT: anatomy, variants, and pre-surgical measurement
Locate the mandibular canal and IAN on CBCT: mental loop, bifid/retromolar canal, measurement checklist, and when to escalate from panoramic (ALADA).