CBCT in Implant Planning: A Step-by-Step Guide
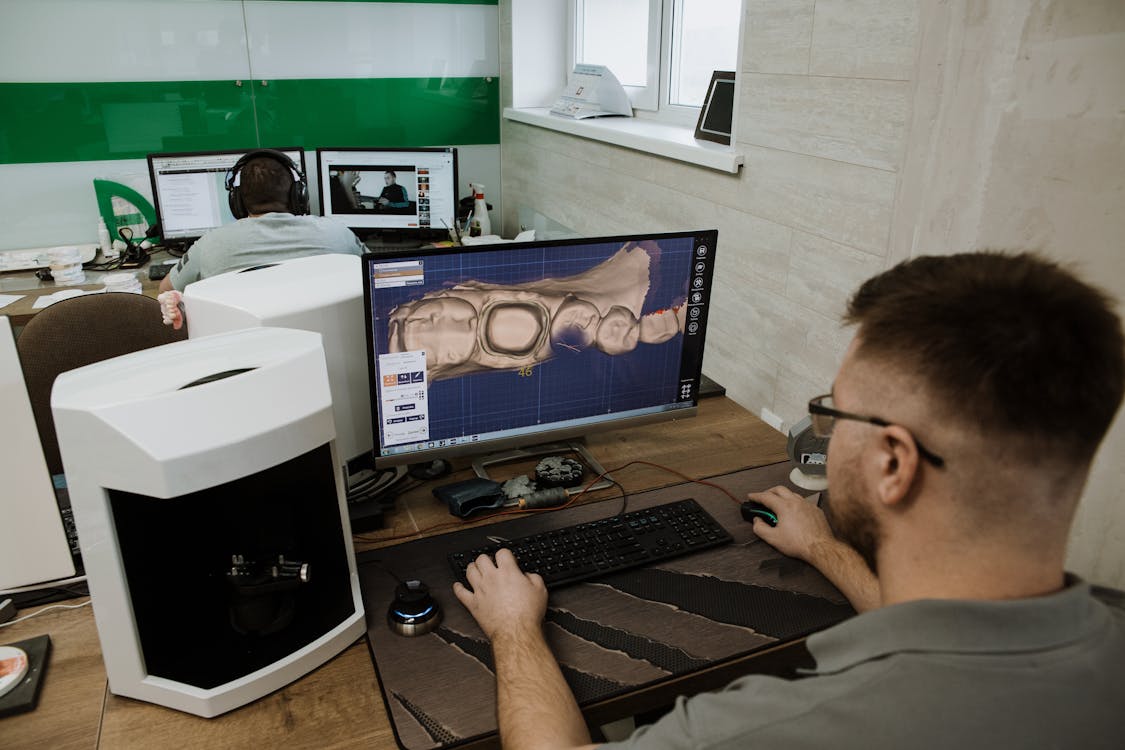
Introduction to CBCT-Guided Implant Planning
Implant planning represents one of the most clinically valuable applications of CBCT. Three-dimensional imaging enables precise assessment of bone volume, density, and anatomy, resulting in improved implant positioning, reduced complications, and superior long-term outcomes.
CBCT implant planning combines volumetric imaging with specialized software to create a comprehensive surgical roadmap before the patient is anesthetized.
Step 1: Image Acquisition and Quality Assessment
Begin with high-quality CBCT acquisition. Ensure proper patient positioning with the scanning plane aligned to the occlusal plane. After acquisition, assess image quality before proceeding:
- Confirm adequate field of view capturing all planned implant sites
- Check for artifacts from metal restorations or previous implants
- Verify image sharpness and contrast
- Assess bone visualization quality
Metal artifacts often obscure details at implant sites. Request artifact reduction protocols if available, or plan revised implant positions to avoid artifact zones.
Step 2: Bone Anatomy and Dimension Assessment
Comprehensive anatomical evaluation guides implant selection and positioning:
- Bone Height: Measure vertical distance from ridge crest to inferior alveolar canal (mandible) or floor of nasal cavity/maxillary sinus (maxilla). This dimension determines if bone augmentation is necessary.
- Bone Width: Evaluate buccal-lingual width at planned implant sites. Insufficient width may require guided bone regeneration or alternative positioning.
- Ridge Angulation: Assess the slope of the alveolar ridge to determine appropriate implant inclination.
- Bone Density: Evaluate trabecular pattern and cortical thickness. Dense bone allows greater screw tightening torque; trabecular bone requires slower healing.
Step 3: Critical Anatomical Structure Identification
Careful identification of vital structures prevents serious surgical complications:
Mandibular Nerve Canal: The inferior alveolar nerve canal must be identified and tracked throughout its course. Implants should maintain a minimum 2 mm margin from the nerve canal.
Maxillary Sinus: Sinus floor location and pneumatization extent determine maximum implant height. Insufficient vertical dimension may require sinus elevation.
Nasal Cavity: Anterior maxillary implants must avoid nasal cavity perforation.
Adjacent Teeth: Ensure adequate distance from adjacent tooth roots.
Step 4: Implant Selection and Virtual Positioning
Using implant planning software, select appropriate implant sizes (diameter and length) based on bone dimensions. Virtually position implants:
- Parallel to the long axis of adjacent teeth when esthetic considerations matter
- Perpendicular to the occlusal plane for optimal load distribution
- With adequate inter-implant spacing (minimum 3 mm)
- With adequate bone margins (minimum 1.5-2 mm buccal-lingual)
Step 5: Prosthetic Planning Integration
Implant position must accommodate the planned prosthetic restoration. Collaborate with the restorative dentist or laboratory to ensure:
- Implant position allows optimal emergence profile
- Screw access hole is esthetic when necessary
- Implant axis permits adequate restoration thickness
- Opposing occlusion is evaluated
Step 6: Surgical Guide Generation
Many planning software packages can generate surgical guides—3D-printed templates that position implants with computer-guided precision. The surgical guide provides:
- Pre-determined implant position and angle
- Reduced operative time
- Increased surgical precision
- Potential for flapless placement
Step 7: Final Plan Documentation and Communication
Create a comprehensive surgical plan document including:
- Labeled screenshots showing implant positions
- Measurements of critical distances
- Implant specifications and selection rationale
- Necessary augmentation procedures
- Patient education materials
Discuss the plan with the patient, addressing any concerns and obtaining informed consent.
Step 8: Intraoperative Verification
During surgery, verify planned positions match real anatomy. Account for possible variations between imaging and surgical findings. Maintain flexibility to modify plans slightly if anatomical surprises occur.
Common Pitfalls to Avoid
- Inadequate bone assessment: Skipping detailed dimension measurements can lead to implant selection errors.
- Nerve canal margin violations: Insufficient margins from vital structures cause postoperative nerve injury.
- Insufficient vertical dimension: Underestimating sinus floor height or nerve canal depth requires unexpected augmentation.
- Neglecting prosthetic requirements: Implant positions must accommodate restorations, not just satisfy surgical anatomy.
- Over-relying on software: Software should guide, not replace, clinical judgment and understanding of anatomy.
Conclusion
Systematic CBCT-guided planning dramatically improves implant case outcomes. By carefully assessing bone anatomy, identifying vital structures, optimizing implant position, and integrating prosthetic requirements, you create a surgical roadmap that translates into more successful implants and better long-term patient satisfaction.
Try CBCTHub for free
Upload, view, and share DICOM scans in the cloud. Nothing to install.
Create free accountRelated articles
Best CBCT Viewers 2026: Complete Comparison of 10 Dental Imaging Software Options
In-depth comparison of the best CBCT viewers for dental imaging in 2026. Cloud-based and desktop options, pricing, features, and best-fit scenarios.
How to Onboard a New Referring Dentist in Under 10 Minutes
A step-by-step workflow: what to ask for, how to present your platform, and a text message template for the first contact.
Data Privacy Compliance for Dental Imaging Centers: HIPAA, UK GDPR, PIPEDA
What applies in the US, UK, and Canada, which documents you need, and the real risks of failing to protect patient data.