Building a Digital Workflow for Your Dental Radiology Center

· Updated
The Modern Radiology Center Workflow
Running a successful dental radiology center in 2026 means more than owning a good scanner. The differentiator is your digital workflow — how efficiently you move from scan acquisition to image delivery, and how easy you make it for referring dentists to access their patients' exams.
The Five Stages of a Digital Workflow
1. Patient Registration and Scheduling
Start with digital intake. Capture patient demographics, referring dentist information, and the clinical indication for the scan. This data flows through the entire workflow and populates DICOM headers, delivery emails, and reports automatically.
2. Scan Acquisition
After acquisition, the CBCT scanner stores the DICOM data locally. The key step here is establishing an automatic or semi-automatic export pipeline — either direct push to your cloud platform via DICOM Send, or a manual export-and-upload workflow.
3. Quality Check and Processing
Before delivery, verify image quality. Check for motion artifacts, correct field of view, and proper patient positioning. This is also the stage where the radiologist reviews the images and creates a report if the center offers diagnostic services.
4. Cloud Storage and Organization
Upload the processed scan to a cloud DICOM platform organized by patient. Key requirements:
- Automatic patient matching based on DICOM header information
- Encrypted storage meeting healthcare data standards
- Searchable archive by patient name, date, or referring dentist
- Sufficient storage for your volume (typical center: 500+ scans/month)
5. Digital Delivery
This is where most centers can dramatically improve efficiency. Instead of burning CDs or transferring USB drives:
- Generate a secure link to the scan in your cloud viewer
- Send a branded email to the referring dentist with patient details and viewer access
- Optionally attach the PDF report to the delivery email
- Enable patient access by sharing a separate link for the patient to view their own scan
Benefits of Going Digital
- Speed: Deliver exams in minutes instead of days
- Cost savings: Eliminate CD/DVD media, printing, and courier services
- Dentist satisfaction: Referring dentists can access scans instantly from any device
- Patient experience: Patients receive their exam via email or WhatsApp — no need to carry a CD
- Tracking: Know exactly when and by whom each scan was accessed
Choosing the Right Platform
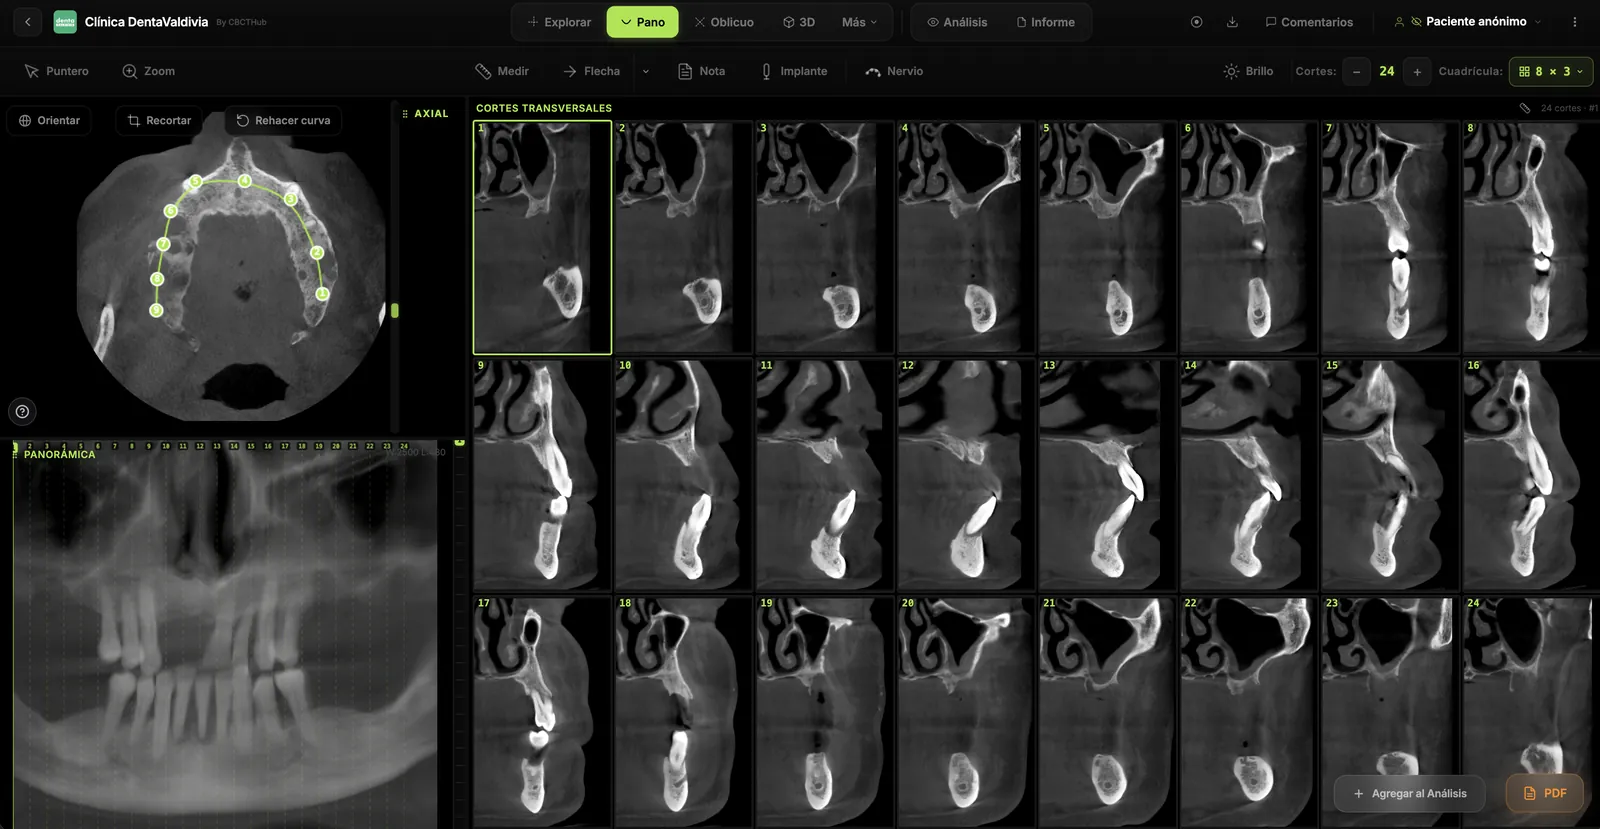
Your digital workflow platform should handle storage, viewing, sharing, and delivery in one integrated solution. Look for dental-specific features like panoramic reconstruction and cross-sectional views — generic PACS systems often lack these. Platforms like CBCTHub are designed specifically for dental CBCT workflows, including branded email delivery and patient sharing via link.
Try CBCTHub for free
Upload, view, and share DICOM scans in the cloud. Nothing to install.
Create free accountRelated articles
Dental CBCT in the cloud: day-to-day storage and sharing in clinic
What “CBCT in the cloud” means in clinic: store the original DICOM, access it from multiple chairs, and share with access control — without mistaking it for a full PACS or a WhatsApp ZIP.
Browser DICOM viewer vs desktop: what works for CBCT in clinic
Open CBCT in the browser or install a desktop viewer? A clinical decision matrix: MPR performance, offline use, Mac/Windows mix, sharing without CDs, and when native software still wins.
Dental DICOM software: a checklist for choosing a CBCT viewer
Before adopting a dental DICOM or CBCT viewer in the clinic: checklist for interoperability, MPR, mm measurements, share without CD, privacy, and TCO.